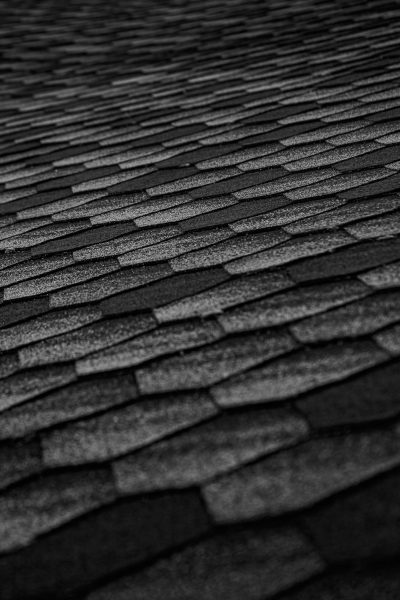
Your roof is your home’s first line of defense against the elements. Over time, even the most durable roofs will eventually need to be replaced. Reshingling is a common roofing project that can significantly extend the life of your home and protect your investment. This blog post will cover everything you need to know about reshingling your roof, from recognizing the signs that it’s time for a replacement to choosing the right materials and hiring a qualified contractor.
Signs You Need a New Roof:
Knowing when to replace your roof is crucial. Here are some key indicators:
- Missing, cracked, or curled shingles: These are the most obvious signs of damage.
- Granule loss: Asphalt shingles lose granules over time, which can be seen in your gutters or at the base of your downspouts. Excessive granule loss exposes the shingle’s core, making it vulnerable to damage.
- Leaks: Water stains on your ceiling or walls are a clear sign of a roof leak.
- Sagging roof deck: A sagging roof deck indicates structural damage and requires immediate attention.
- Age: Most asphalt shingle roofs last between 20-30 years. If your roof is approaching this age, it’s likely time for a replacement.
- Moss or algae growth: While not always a sign of immediate failure, moss and algae can trap moisture and shorten the lifespan of your shingles.
Choosing the Right Shingles:
Several types of shingles are available, each with its own advantages and disadvantages:
- Asphalt Shingles: The most common and affordable option. They come in various styles, colors, and thicknesses.
- Architectural Shingles (Dimensional or Laminated): Thicker and more durable than traditional asphalt shingles, offering a more dimensional and aesthetically pleasing look.
- Metal Roofing: A durable and long-lasting option, but typically more expensive than asphalt shingles.
- Tile Roofing: A classic and long-lasting option, but also more expensive and requires specialized installation.
Consider factors like cost, durability, aesthetics, and your local climate when choosing shingles.
The Reshingling Process:
A typical reshingling project involves the following steps:
- Removal of old shingles: The existing shingles and underlayment are removed down to the roof deck.
- Inspection of the roof deck: The roof deck is inspected for any damage and repaired as needed.
- Installation of underlayment: A protective layer of underlayment is installed to provide an extra barrier against water intrusion.
- Installation of new shingles: The new shingles are installed according to the manufacturer’s instructions.
- Installation of flashing: Flashing is installed around chimneys, vents, and other roof penetrations to prevent leaks.
- Cleanup: The work area is cleaned up, and all debris is removed.
DIY vs. Professional Installation:
While some homeowners may be tempted to reshingle their own roof, it’s generally best left to professionals. Roofing work can be dangerous, and improper installation can lead to costly problems down the road.
Conclusion:
Reshingling your roof is a significant investment, but it’s a necessary one to protect your home. By understanding the signs that it’s time for a replacement, choosing the right materials, and hiring a qualified contractor, you can ensure a successful and long-lasting result.
Call to action:
Contact us today for a free roof inspection and estimate!

